You might have hard time with Roomba I7 Charging Issues and it is very annoying. So, here after some excessive research we have found out the most common Roomba i7 charging and battery problems and their working solutions.
Roomba I7 Charging Issues
How do I know if my Roomba i7 is charging?
Whenever Roomba i7 cleans, it returns to the home base for recharge. But remember, the indicators will not switch on during recharge. There are various ways to know whether the Roomba i7 is charging. We are listing the below.
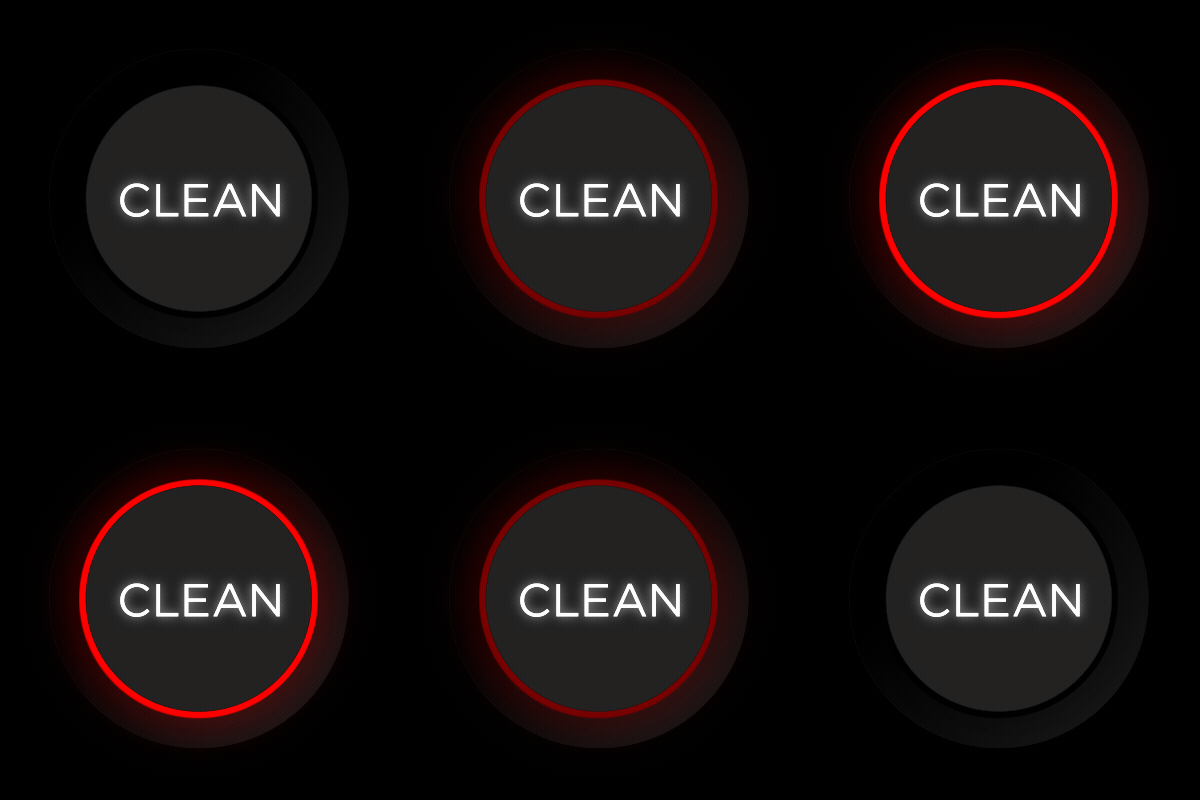
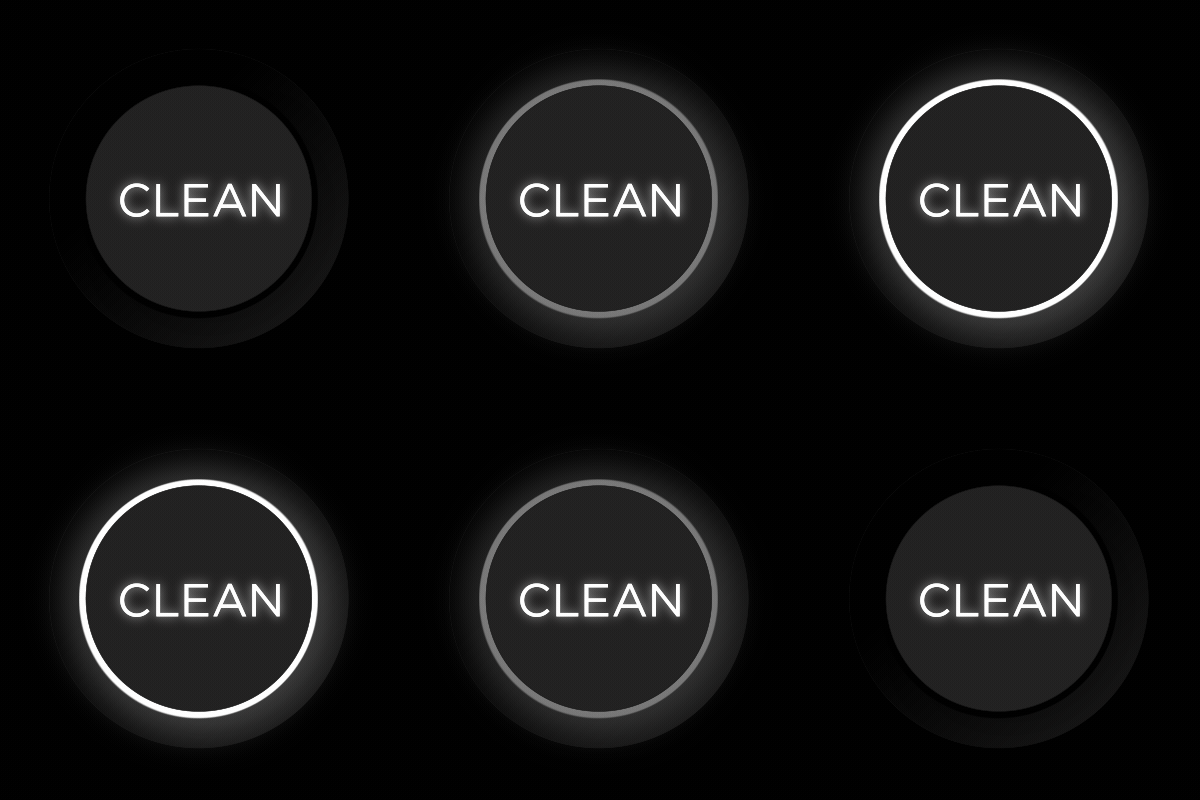
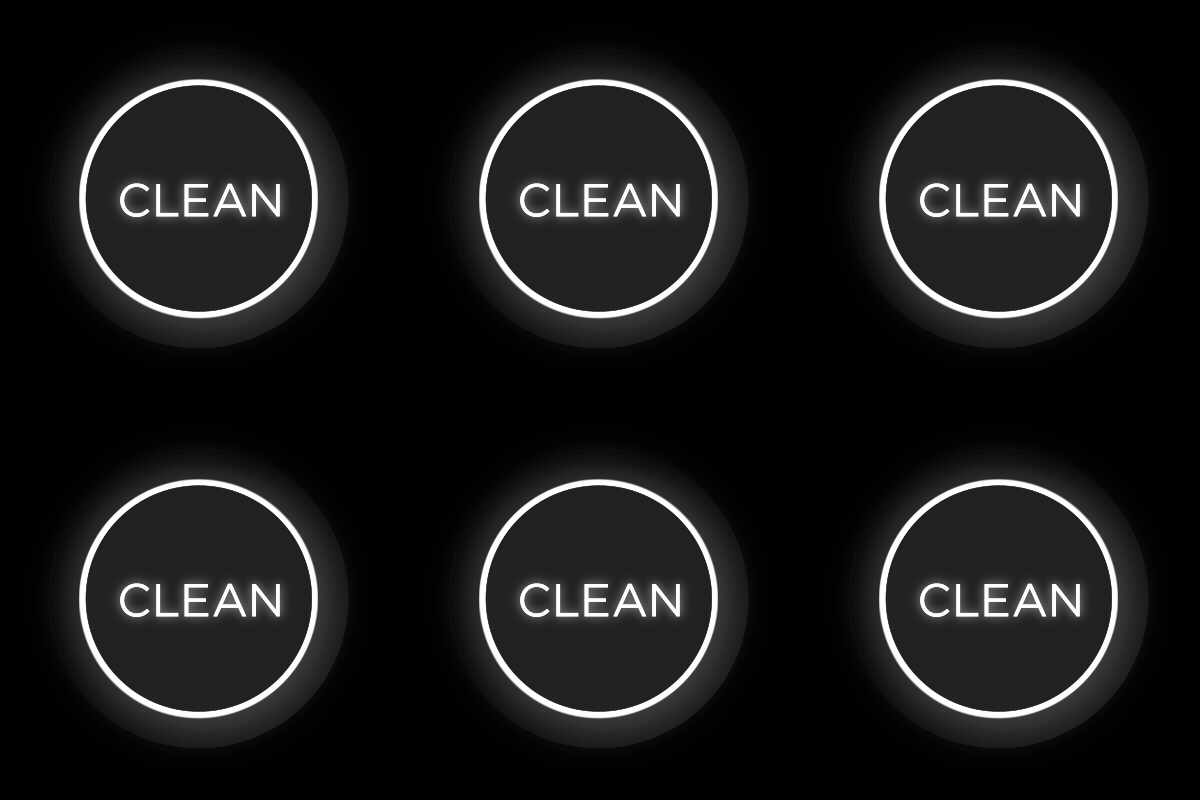
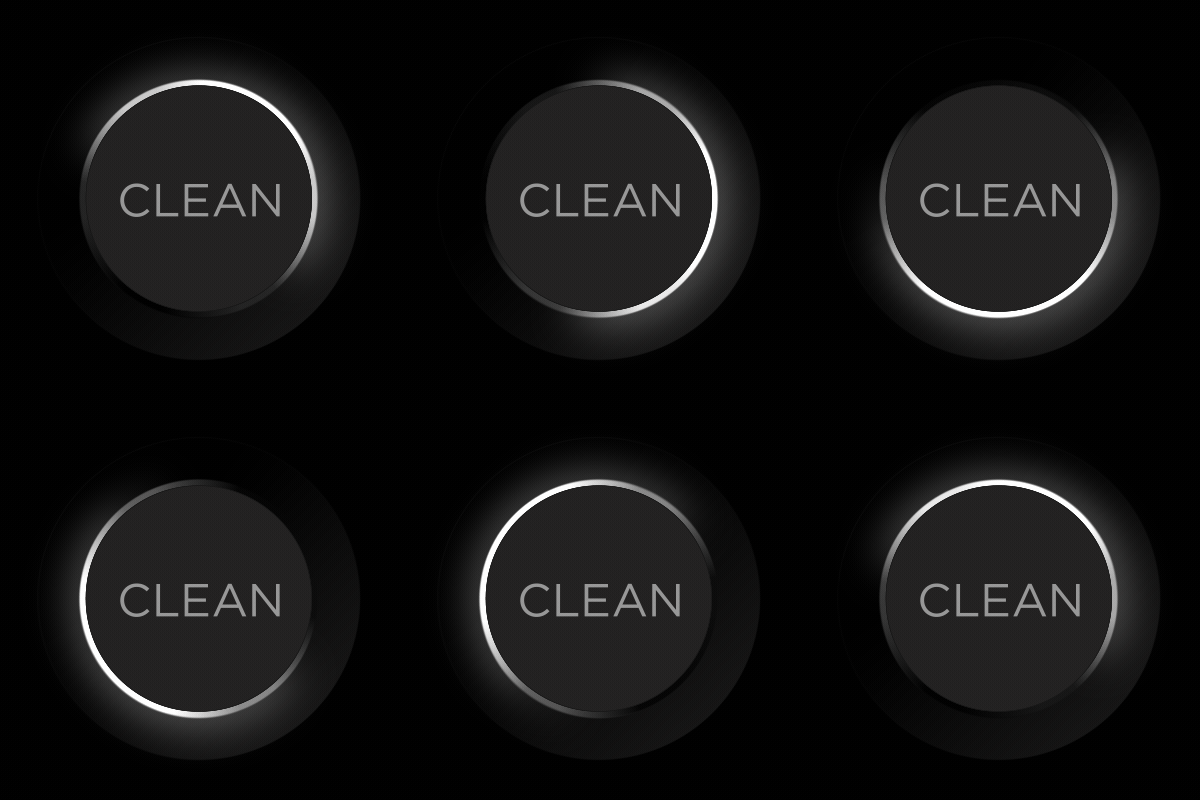
- 1. Look at the Ring Of Roomba: You need to look at the light ring of the Roomba i7. If it is pulsating white, it indicates the device is charging. But if you observe a solid white light ring, the battery is ultimately charged.
- 2. Look at the light of the base: The battery is charging if you observe a solid red light on the Roomba base.
- 3. Check the Battery Status On The iRobot Home App: You need to open the iRobot home app and check the status of your battery.
How long does it take Roomba i7 to charge?
Roomba i7 will take almost two hours to charge completely. However, the charging time can vary depending on factors like ambient temperature, battery condition, the type of floor you are charging, and whether you are charging the Rommai7 directly or by keeping it on the home base.
You are usually recommended to use the iRobot Lithium-ion battery, which comes with Roomba. You must also charge the Roomba Once it completes the cleaning process.
How to charge Roomba i7?
A lithium-ion battery powers the Roomba i7. You can charge the Roomba in two ways: the first is by keeping it on the home base, and the other is by directly connecting the power source.
You must charge the iRobot i7 battery when it completes the cleaning cycle. If you wait various days and don’t recharge the Roomba, it can damage the battery. You’d better remove the battery if you do not use the Roomba i7 for a few months.
The Roomba battery life will last 2-3 years if maintained properly.
Why is my Roomba i7 not charging?
If your Roomba i7 is not charging, there can be various reasons. We are listing them below.
- 1. Clean the charging contacts: Dirt or debris may accumulate on the charging contacts, preventing the Roomba battery from charging. You can take a melamine foam, lightly damp it, and clean the charging contacts.
- 2. Check the battery: If the iRobot i7 battery is not installed correctly, it will not charge.
- 3. Replace the battery: If the battery of the Roomba i7 is malfunctioning, then it will not charge.
- 4. Clean Wheels Of Your Roomba: If the wheels of the Roomba i7 accumulate dust, then it creates a problem in the charging process. So you need to clean them properly.
- 5. Check The Base: Ensure that the base should be placed on a flat surface. The battery will not get charged if you have not correctly placed the base.
- 5. Check The Lights On The Base: The light on the base should turn on for a few seconds once you align the Robot with the base. But if the light doesn’t turn on, there is a problem with the base, and it cannot recognize the Roomba. You need to replace the base.
What is the battery life of a Roomba i7?
Roomba i7 battery life is 2-3 years if maintained properly. Various factors can affect the iRoboot i7 battery, like the type of flooring, charge cycles, and many more.
You must charge the Roomba at room temperature and avoid direct sunlight. Additionally, remove the battery if you are not using teh Roomba for a long time. Try always to keep your Roomba clean.
Remember, accumulation of dust and dirt can make the Roomba work harder and drain teh battery faster.
How often do you change the battery in the Roomba i7?
Roomba battery replacement is required in every 2-3 years. The Roomba i7 battery life depends on various factors, like the type of flooring you are charging, how often you are charging, and many more.
You can extend the battery life by maintaining the Roomba i7 periodically. You need to clean the base and strictly avoid overcharging the battery.
How to replace the Roomba i7 battery?
The i7 Roomba battery replacement can be done in the following ways.
- Switch off the Roomba and remove it from the home base.
- Place the Roomba on a blanket or towel
- Remove the brush from the Robot by unscrewing the screws by a screwdriver.
- The hair may wrap around the brush. Remove it.
- Now lose the five screws which are present on the outside of your Roomba i7.
- Remove the bottom cover.
- Remove the debris which is attached to any moving components.
- Remove the old battery by pulling the tab and center of teh battery.
- Place your new battery in the correct place.
- Place the bottom cover and tighten it with the five screws.
- You can then place the brush in its place and then tighten the screws with a screwdriver.
Where is the battery Roomba i7?
The battery is in the center of the Roomba i7, i.e., just in front of the rubber brush. Roomba battery life is usually for 2-3 years if maintained properly.
How do I know if my Roomba battery is bad?
There can be various possible signs that indicate that the Roomba i7 battery has gone bad.
- If your iRobot i7 battery is no longer holding charge, then there must be a problem with the battery.
- If your Roomba is over three years old, the battery will not function properly and have a shorter run cycle.
- If your Roomba does not charge even after plugging for many hours, then that indicates that the battery has gone bad.
- You can reset Roomba by holding the clean or power button for at least 20 seconds until you hear music and the Roomba turns on. If it does not work, a Roomba battery replacement must be done.
